# Offices reference book: how the module works
> How the “Offices reference book” module works: adding new entries, editing existing ones, disabling and deleting.
https://workpan.com/en/doc/spravochnik-ofisov/
Published: 2019-01-21
Updated: 2026-09-11
---
The “Offices reference book” module is meant for compiling the lists of offices needed for the “Orders” module and the “HR department” module to work. We should also note that this module depends on the [“Cities reference book”](https://workpan.com/en/doc/spravochnik-gorodov/) and the [“Cash desks reference book”](https://workpan.com/en/doc/spravochnik-finansovyix-kass/).
#### Contents:
- [Opening the module](#jump-module)
- [What the module does](#functionality-module)
- [Adding](#add)
- [Editing](#edit)
- [Deleting](#delete)
- [Changing the status](#status-edit)
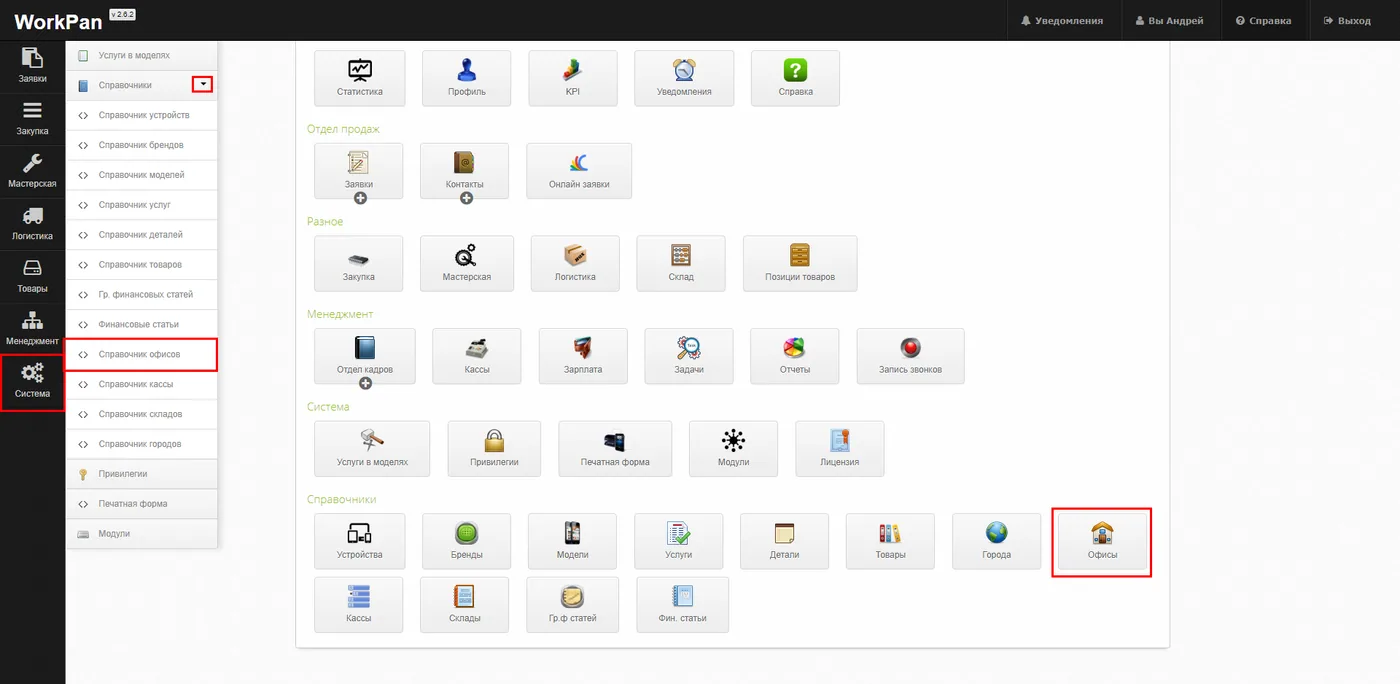
You can reach the **“Offices reference book”** section:
- [Control panel](https://workpan.com/en/doc/control-panel/) → Offices
- Quick access menu → System → Reference books → Offices reference book
#### What the module does:
In the **“Offices reference book”** section you can add new entries, edit existing ones, change the display status and delete entries you no longer need.
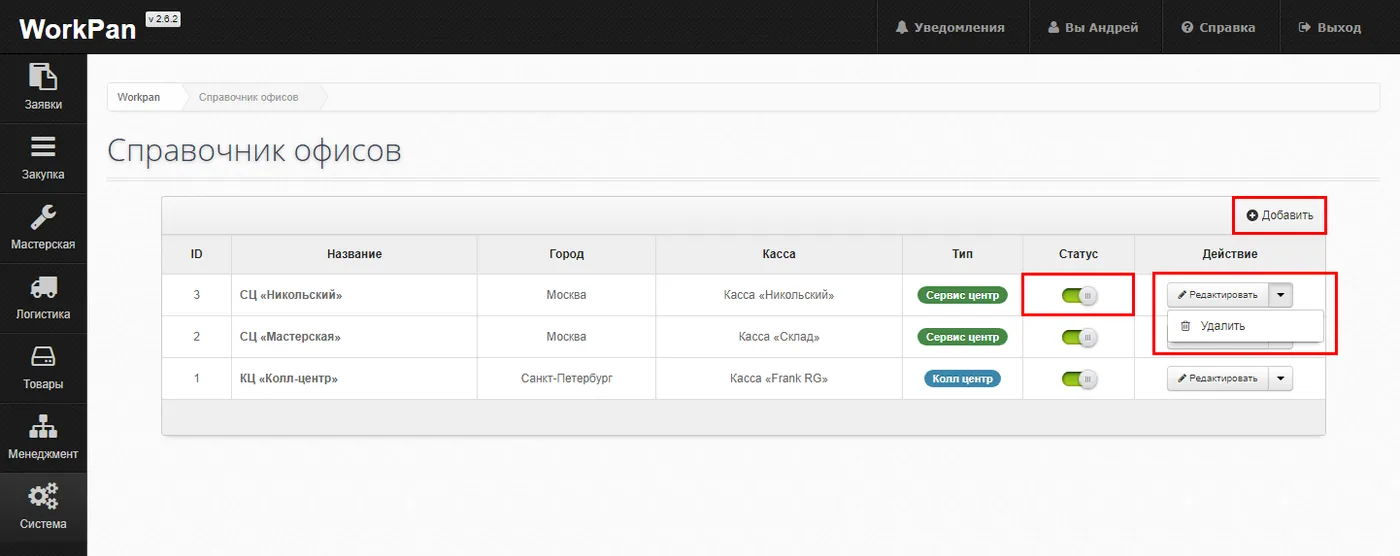
_what the module does_
#### A new office can be added as follows:
- Click the “Add” button.
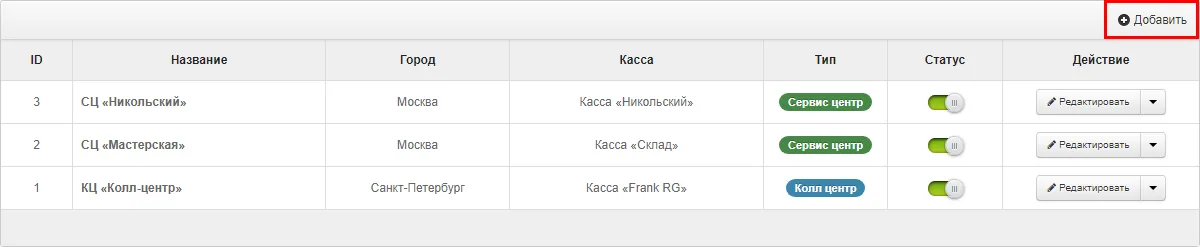
- You are taken to the corresponding section to add the new entry.
- The form for adding a new office is split into two categories:
- Main
- Additional
The **“Main”** category — enter the following information here:
- Name:
- The name of the office
- Status:
- The status of the office (Enabled/Disabled)
- Type:
- The type of the office (Call centre, Service centre, Other)
- Cash desk:
- Choosing a cash desk from the “Cash desks reference book” (all income and expenses are recorded in that cash desk)
- City:
- The city of the office from the “Cities reference book”
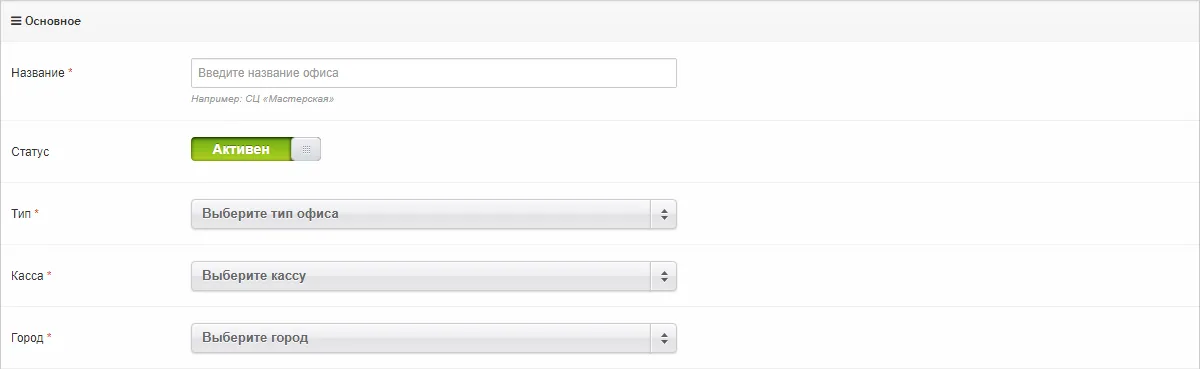
The “Main” category
The **“Additional”** category is meant for offices with the “Service centre” type: it holds the office’s contact information. That information is printed on the “Intake receipt”, the “Work completion certificate” and in other modules. It overrides the values from “Print data settings”.
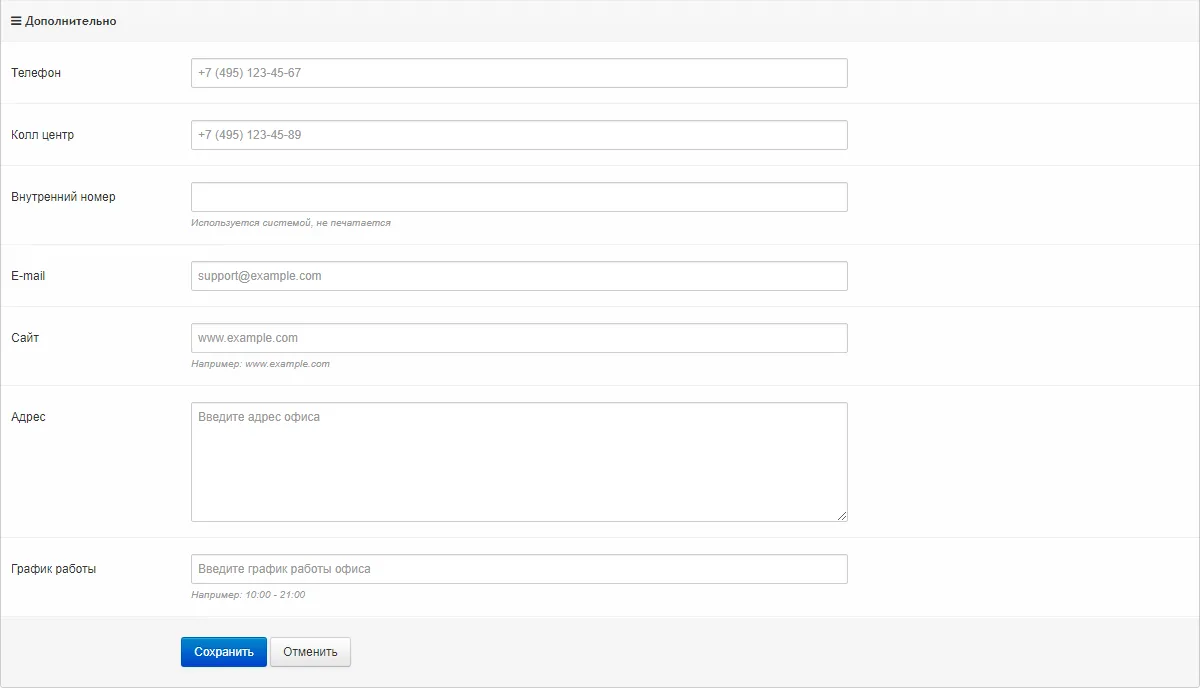
The “Additional” category
Once all the data is entered, save the values with the “Save” button
#### To edit an entry in the “Offices reference book”:
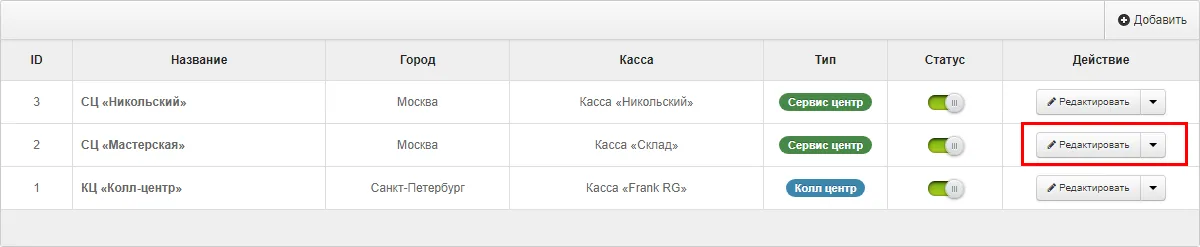
1. Select the entry you need to edit.
2. Click the “Edit” button. You will be taken to the editing form.
3. Make the changes you need, following the guidance in [“Adding an office”](#add), then save the new values.
#### To delete an entry from the reference book:
1. Select the entry you need to delete.
2. Click the drop-down menu next to the “Edit” button. In the field that appears, choose “Delete”.
3. Confirm the action in the window that appears: “Yes, delete”.
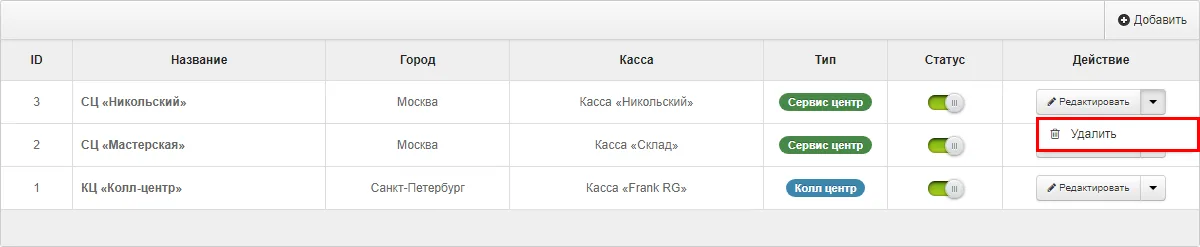
_selecting an entry to delete_

_confirming the deletion of an entry_
#### To switch some entries of the reference book off temporarily:
1. Select the entry you need to switch off.
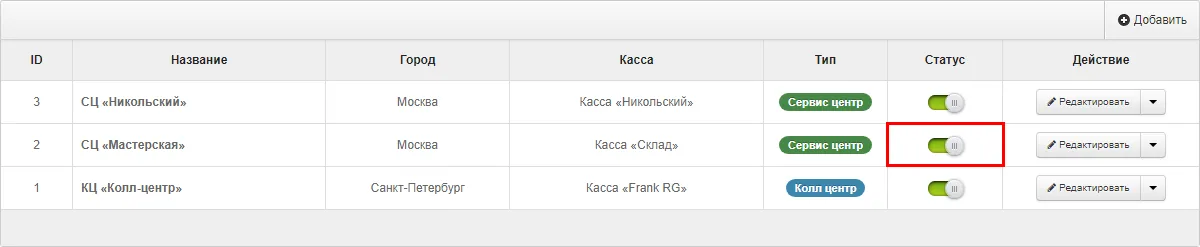
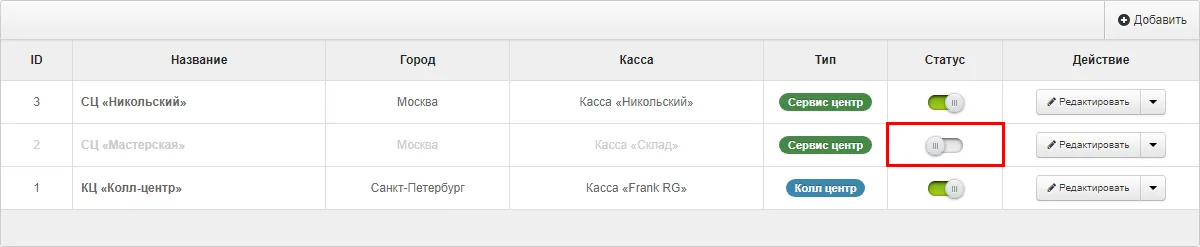
2. With the mouse, drag the toggle to the left until the label “Active” changes to “Disabled”. The toggle colour changes from green to grey. Dragging it back to the right activates the disabled entry again.